

My goal with this blog is not only give recipes - the internet is already a full library of them. You can Google anything you want and there is a recipe for it. My goal is to inspire people to eat more at home, to know what they are putting inside their bodies, and also to avoid waste in a smart way.
So yesterday I went to the supermarket (Trader Joe's, I love you!). I bought a lot of things because I was out of so many things - specially some super necessary staples and vegetables that are a wild card for me.
I already knew what I was going to do for dinner. Something that tastes like my childhood: sausage and potatoes, cooked on the pressure cooker. I even called my mother to learn how to do it in the way that I liked it. But I need something else, a side. Rice? Yeah, but I already had the potato. I needed more vegetables here as well. So I opted for brown rice. I prefer the white, but sometimes I go for this option, specially when I am having potatoes. But just the brown rice wasn't enough. So I remembered this TV show that I saw once that they did a rice with broccoli. It was a green rice, the host called it "Hulk Rice". I felt in love for this idea. So I decided to do it with spinach. But not stir-frying the spinach, I did a juice, using my homemade stock.

Stock, spinach, salt and garlic
All I need was my stock made out of the leftover bone, a cup of baby spinach, a pinch of salt and one garlic clove.

Spinach juice
Then I decided to pass it on the strainer, I didn't want the fibers and garlic pieces, just the juice. Again: best decision I've made. I think this process made my rice light on the spinach garlic taste and very colorful.
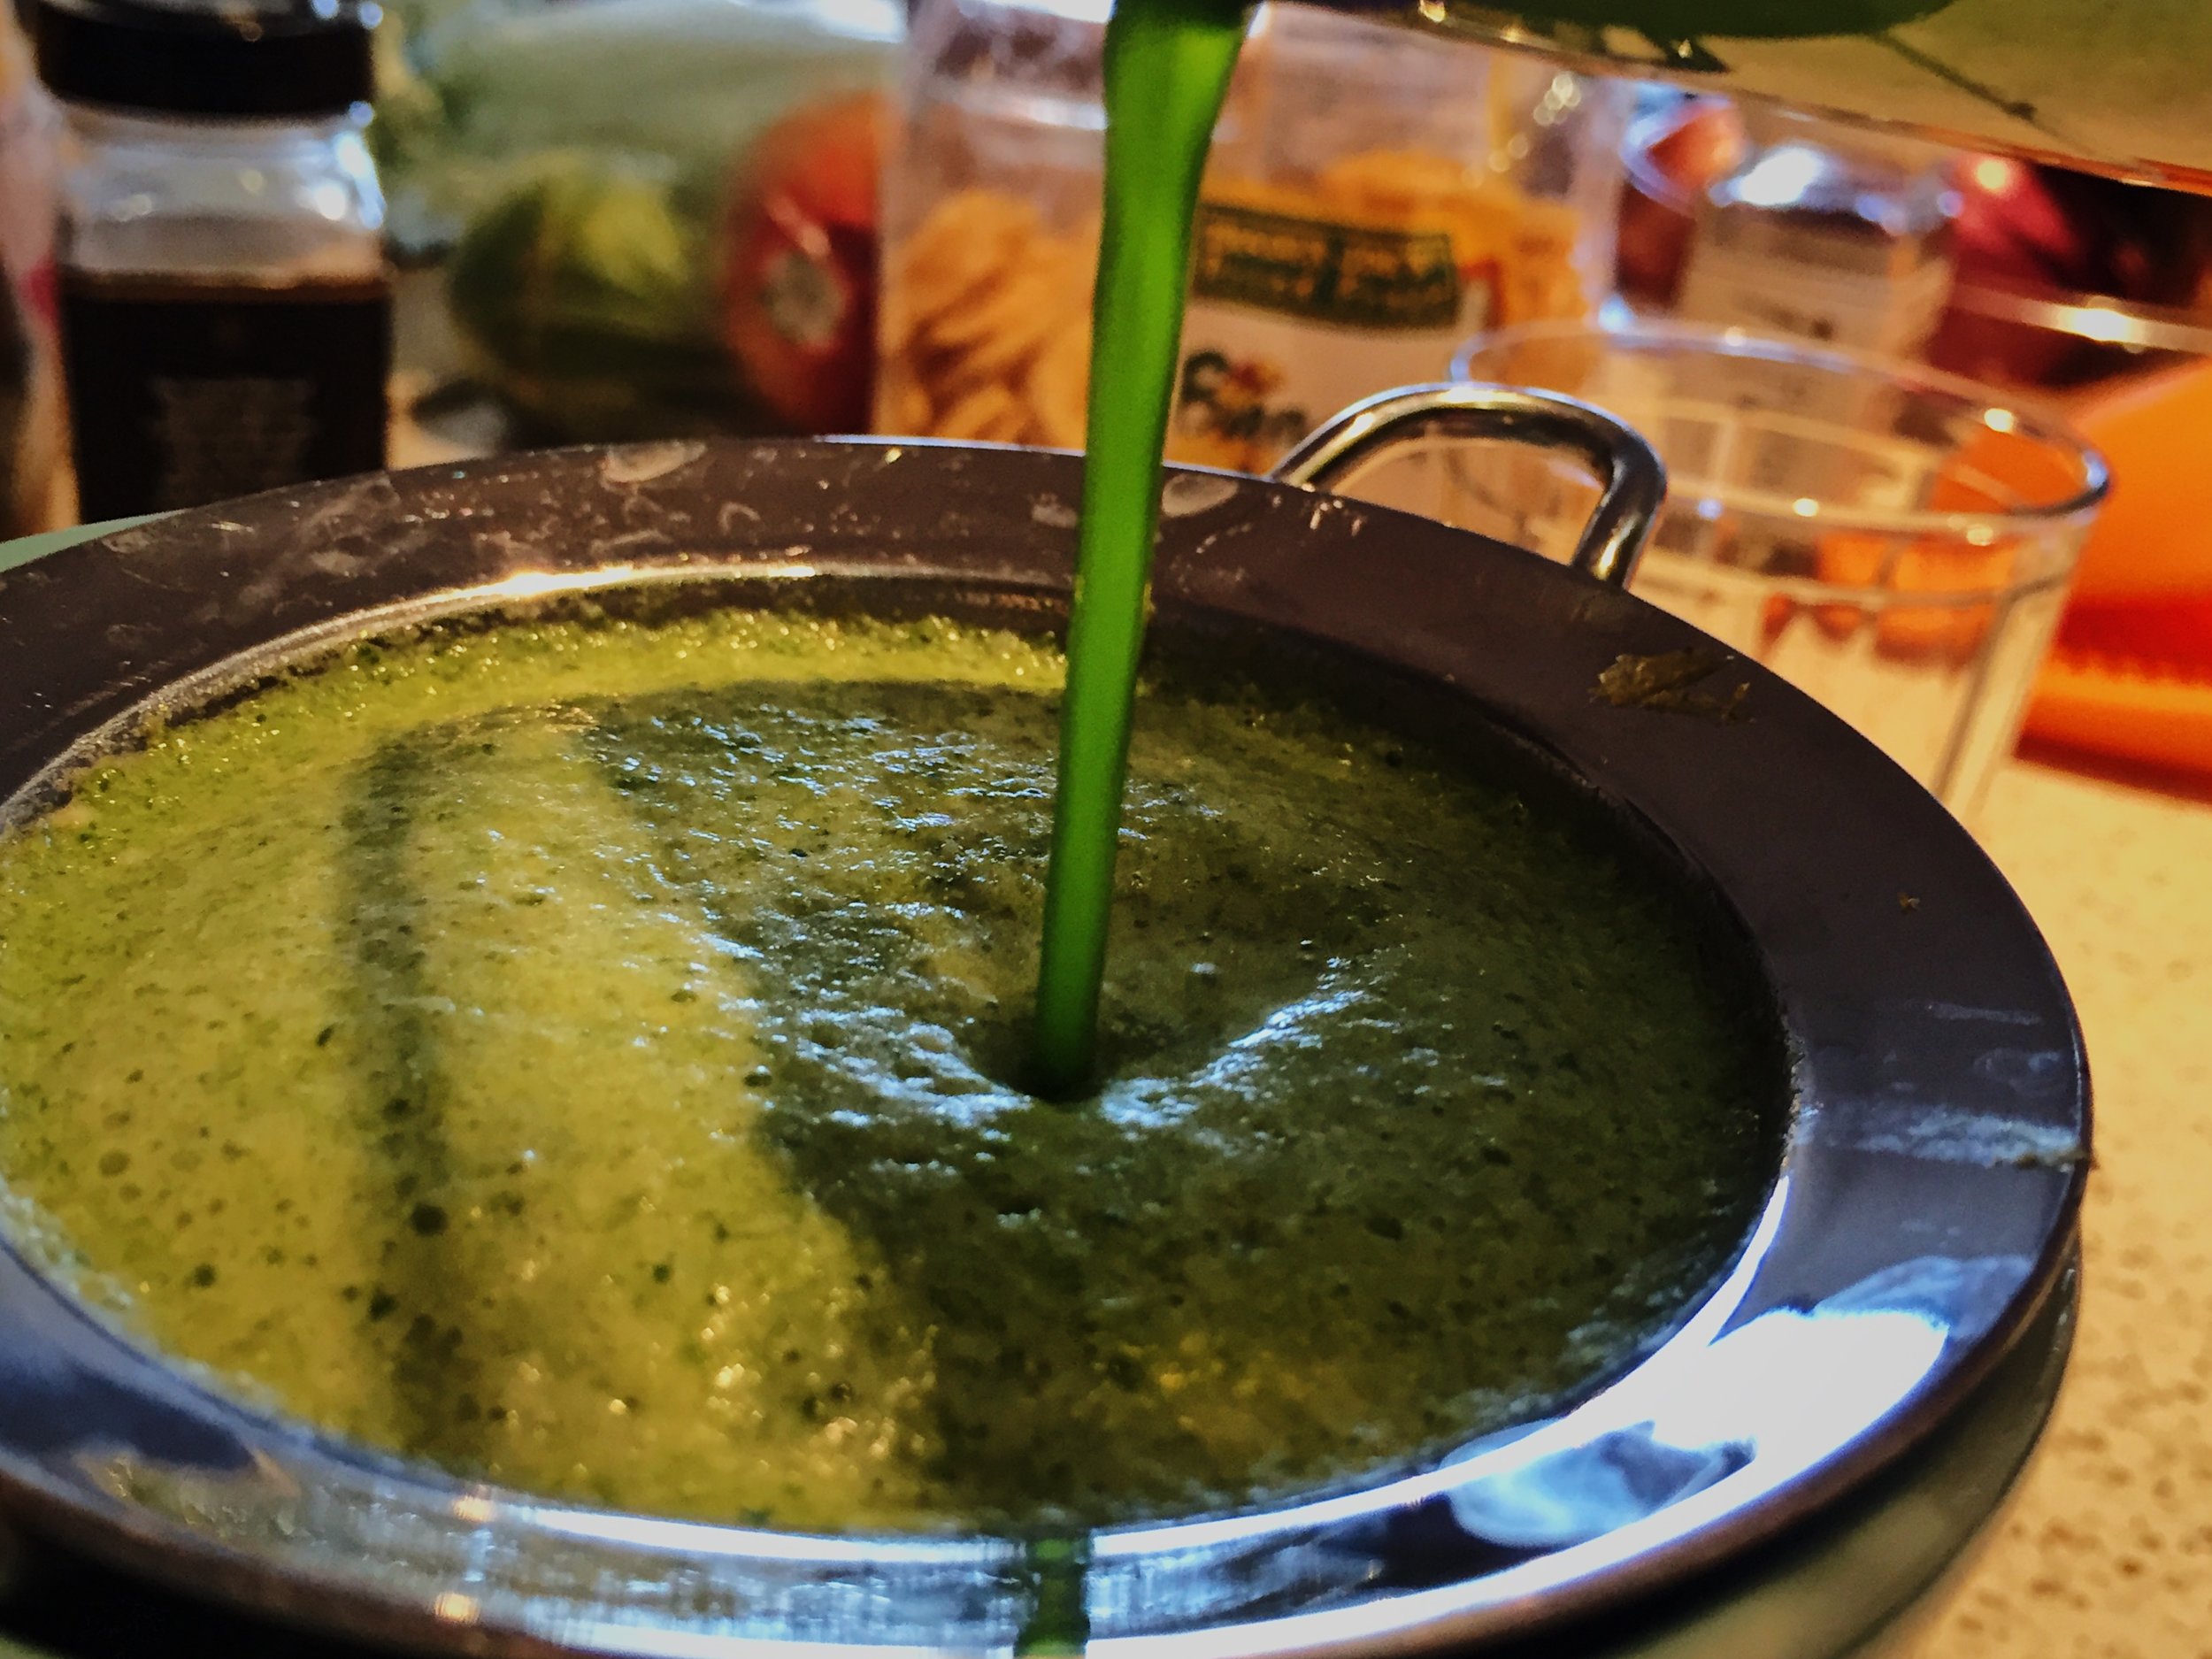
All I can see in this image is the mess behind the juice being poured on the strainer. Sorry (not sorry)!
I did about 1 cup of rice. So of course I needed more water to cook it. Since I did not let my rice rest on water (this is the wisest thing to do - let it sit on water for about 8 hours so it will cook in about 15 minutes, with less water. Also it neutralizes phytates - which helps other nutrients to be better absorbed (check the link!).
In the last minute I decided to add some quinoa because why not, right? I actually wanted to do more food because I was thinking of the future me and future me wanted to eat this on lunch.

Quinoa and rice on the spinach juice
I added a little more salt, cumin, garlic powder and the olive oil of the garlic confit and let it cook. In the process I was thinking about doing this with carrots, for an orange rice, and beets, for a pink rice. There are a lot of possibilities, right? Not just for the colors, but flavors as well: basil, chives, olive, pepper...
I was very happy with the result, both color and flavor were amazing. To be honest my husband didn't realize that he had this for dinner - here we eat in the dim light. And he liked it. So it's an extra point for this idea/recipe.

Spinach rice ready to be eaten
I would like to add that yes, I had this for lunch as well. With the leftover fish and a leftover salad!

Spinach rice, Milanese tilapia (made with my homemade breadcrumbs) and cabbage salad with orange vinaigrette
Just to be clear: I don't have a spinach obsession. Yes, I usually have it on the fridge, I like to hide this veggie on my sauces, meats, juices and smoothies. It's healthy, right?


