• Home
  • About
  • Work
  • Contact
Camila Rinaldi
  • Home
  • About
  • Work
  • Contact

Classic Banana Muffin

498557BC-E65F-475F-973A-8BAEA735792A.jpg

Ok, so I just checked and my last blog post was almost a year ago and the subject was… bananas. You can say that I’m kind of crazy for bananas and the truth is that I really am. It’s definitely my favorite fruit and also so versatile both for eating - just peel it!- and making recipes - cake, muffins, pancakes, bread, with peanut butter, hazelnut, maple syrup, chocolate chips, walnuts, in smoothies, pudding, just mashed… OMG I can go on and on here.

By now you already now that I always have bananas on my counter and that some of them sometimes turn black because I don’t eat a banana a day. Sometimes I’m not in the mood or I simply forget to eat a fruit a day.  Because of that I have to come up with ideas to not throw the food out. Speaking of that this is my mais goal for this new year. I know I started this blog because I wanted to post #zerowaste recipes and to show people that with a little bit of effort you can make the most of the food you have available. For 2019 I want to go deep into this line of thought, not only because I’m concerned with the environment (which I am), but also I’m realizing that this good for my bank account as well. Actually there’s only PROS when you talk about zero food waste, right?

9A311781-1568-4AD4-96E1-96375B08919E.jpg

I really like banana muffins and one day out of nowhere my husband asked me to do some. I started to do some research to find an easy recipe but also a delicious one. I knew I wanted something simple, that I could do in about 20 minutes on a weekend morning and I came across this recipe from Taste of Home. Of course I have added my personal touch, specially when I realized that the batter wasn’t what I expected in the beginning. I wanted higher muffins as well so instead of just mixing the egg I separated the white from the yolk, actually the whites from the yolks, because on my recipe there’s 2 eggs instead of one. Also I added some chopped walnuts because I love the crunchy aspect of a banana muffin.

Here’s my recipe. Let me know if you do something different for your banana muffins or if you have a recipe of your own. I know that for now I’m sticking with this one calling it a family classic already.

CLASSIC BANANA MUFFIN

INGREDIENTS

  • 1 1/2 cups all-purpose flour

  • 1 cup sugar

  • 1 teaspoon baking powder

  • 1/2 teaspoon salt

  • 3 medium ripe bananas

  • 2 large eggs at room temperature

  • 1/3 cup vegetable oil

  • 1/2 cup chopped walnuts

INSTRUCTIONS

Pre-heat the oven at 375º. Sift and combine all dry ingredients in a medium bowl. Separate the egg yolks from the whites. In a large bowl smash the bananas and mix it with the egg yolks and oil. In a separated bowl whisk the egg whites until firm peaks - you can use a stand mixer, a speed hand blender with the whisk accessory or whisk it by hand. Mix the dried ingredients with the banana mix. If it’s too heavy you can start adding the whites already. Slowly fold the egg whites into the batter. When your batter is ready start slowly mixing the chopped walnuts. Transfer the batter to a muffin tray, lined with muffin parchment paper. Baked for 22 minutes (it can also be done between 18 to 25 minutes - it all depends on your oven) or until a toothpick inserted in the center comes out clean. Cool for 10 minutes then remove from pan and place in a wire rack to cool completely.

TIP: You can also add some cinnamon on your batter or even mix cinnamon with sugar and sprinkle on top to create a nice crust on your muffin.

TIP 2: if you notice the walnuts start to burn too much on the top of the muffin, move it to the lower rack on the oven.

tags: banana, banana bread, banana muffin, traditional banana muffin recipe, zero wast, no waste
categories: Zero Waste
Sunday 01.13.19
Posted by Camila Rinaldi
 

Falling for Pumpkins (and Squashes)

When I moved to USA I was shocked when the fall season arrived. Everything was pumpkin. Pumpkin everywhere. I couldn't understand the pumpkin obsession. I hated pumpkins and squashes. In my country we have a few types of the vegetable and some very traditional recipes using it, but to be honest I never had them. The few times that I had squash at home I hated it.

I've been thinking about all the things that I (used to) hate about food. Gladly I've been changing it gradually. When I was a kid my mom tried to feed me sometimes with healthy food, and I used to hated it with all my body. I don't blame her. When she was a kid she didn't have access to sweet treats, frozen meals or fast food - everything was too expansive or it wasn't created yet. 

Growing up in the 90's made me a kid that loved instant ramen, hot dogs, French fries, all kinds of fast food, cookies from packages and potato chips. Plus all the soda I could have. My mom knew how to cook and even tough she didn't like this chore sometimes she was very creative about it. But most of the times she was pretty basic. Until we had internet. I have memories of her printing recipes to do for Sunday lunch. Back in the time healthiness wasn't a concern for the world - no tips of how to hide vegetables into delicious recipes. Times have changed! 

Last year I decided to buy a pumpkin and do something with it. I went to Union Square Farmer's Market and bought a Kabocha. I almost lost some fingers trying to open it. And it was SO big! I did a soup full of bacon - you can't go wrong with plenty of bacon, right? Also I added a very generous amount of liquid smoke. I really like the smokey taste.

Unfortunately I had to throw a lot of squash away since it was on my fridge so for long and I wasn't so sure about the taste of it. But now the good part: I am more conscious about my shopping habits and I didn't;t buy a big squash. This year I started with the Delicata squash. I bought, had no idea of what to do with it until a good friend gave me this very easy t do idea: roast it until very tender and do a spinach and blue cheese cream to put on top. I had some leftovers smoked sausages from another meal and added them on it as well. Check the final result here and follow me on Instagram!

I really liked the flavor of this squash so I decided to buy it again. And today I felt it was the day. Nothing much again. Just roasted with olive oil and salt and pureed. See the dish here.

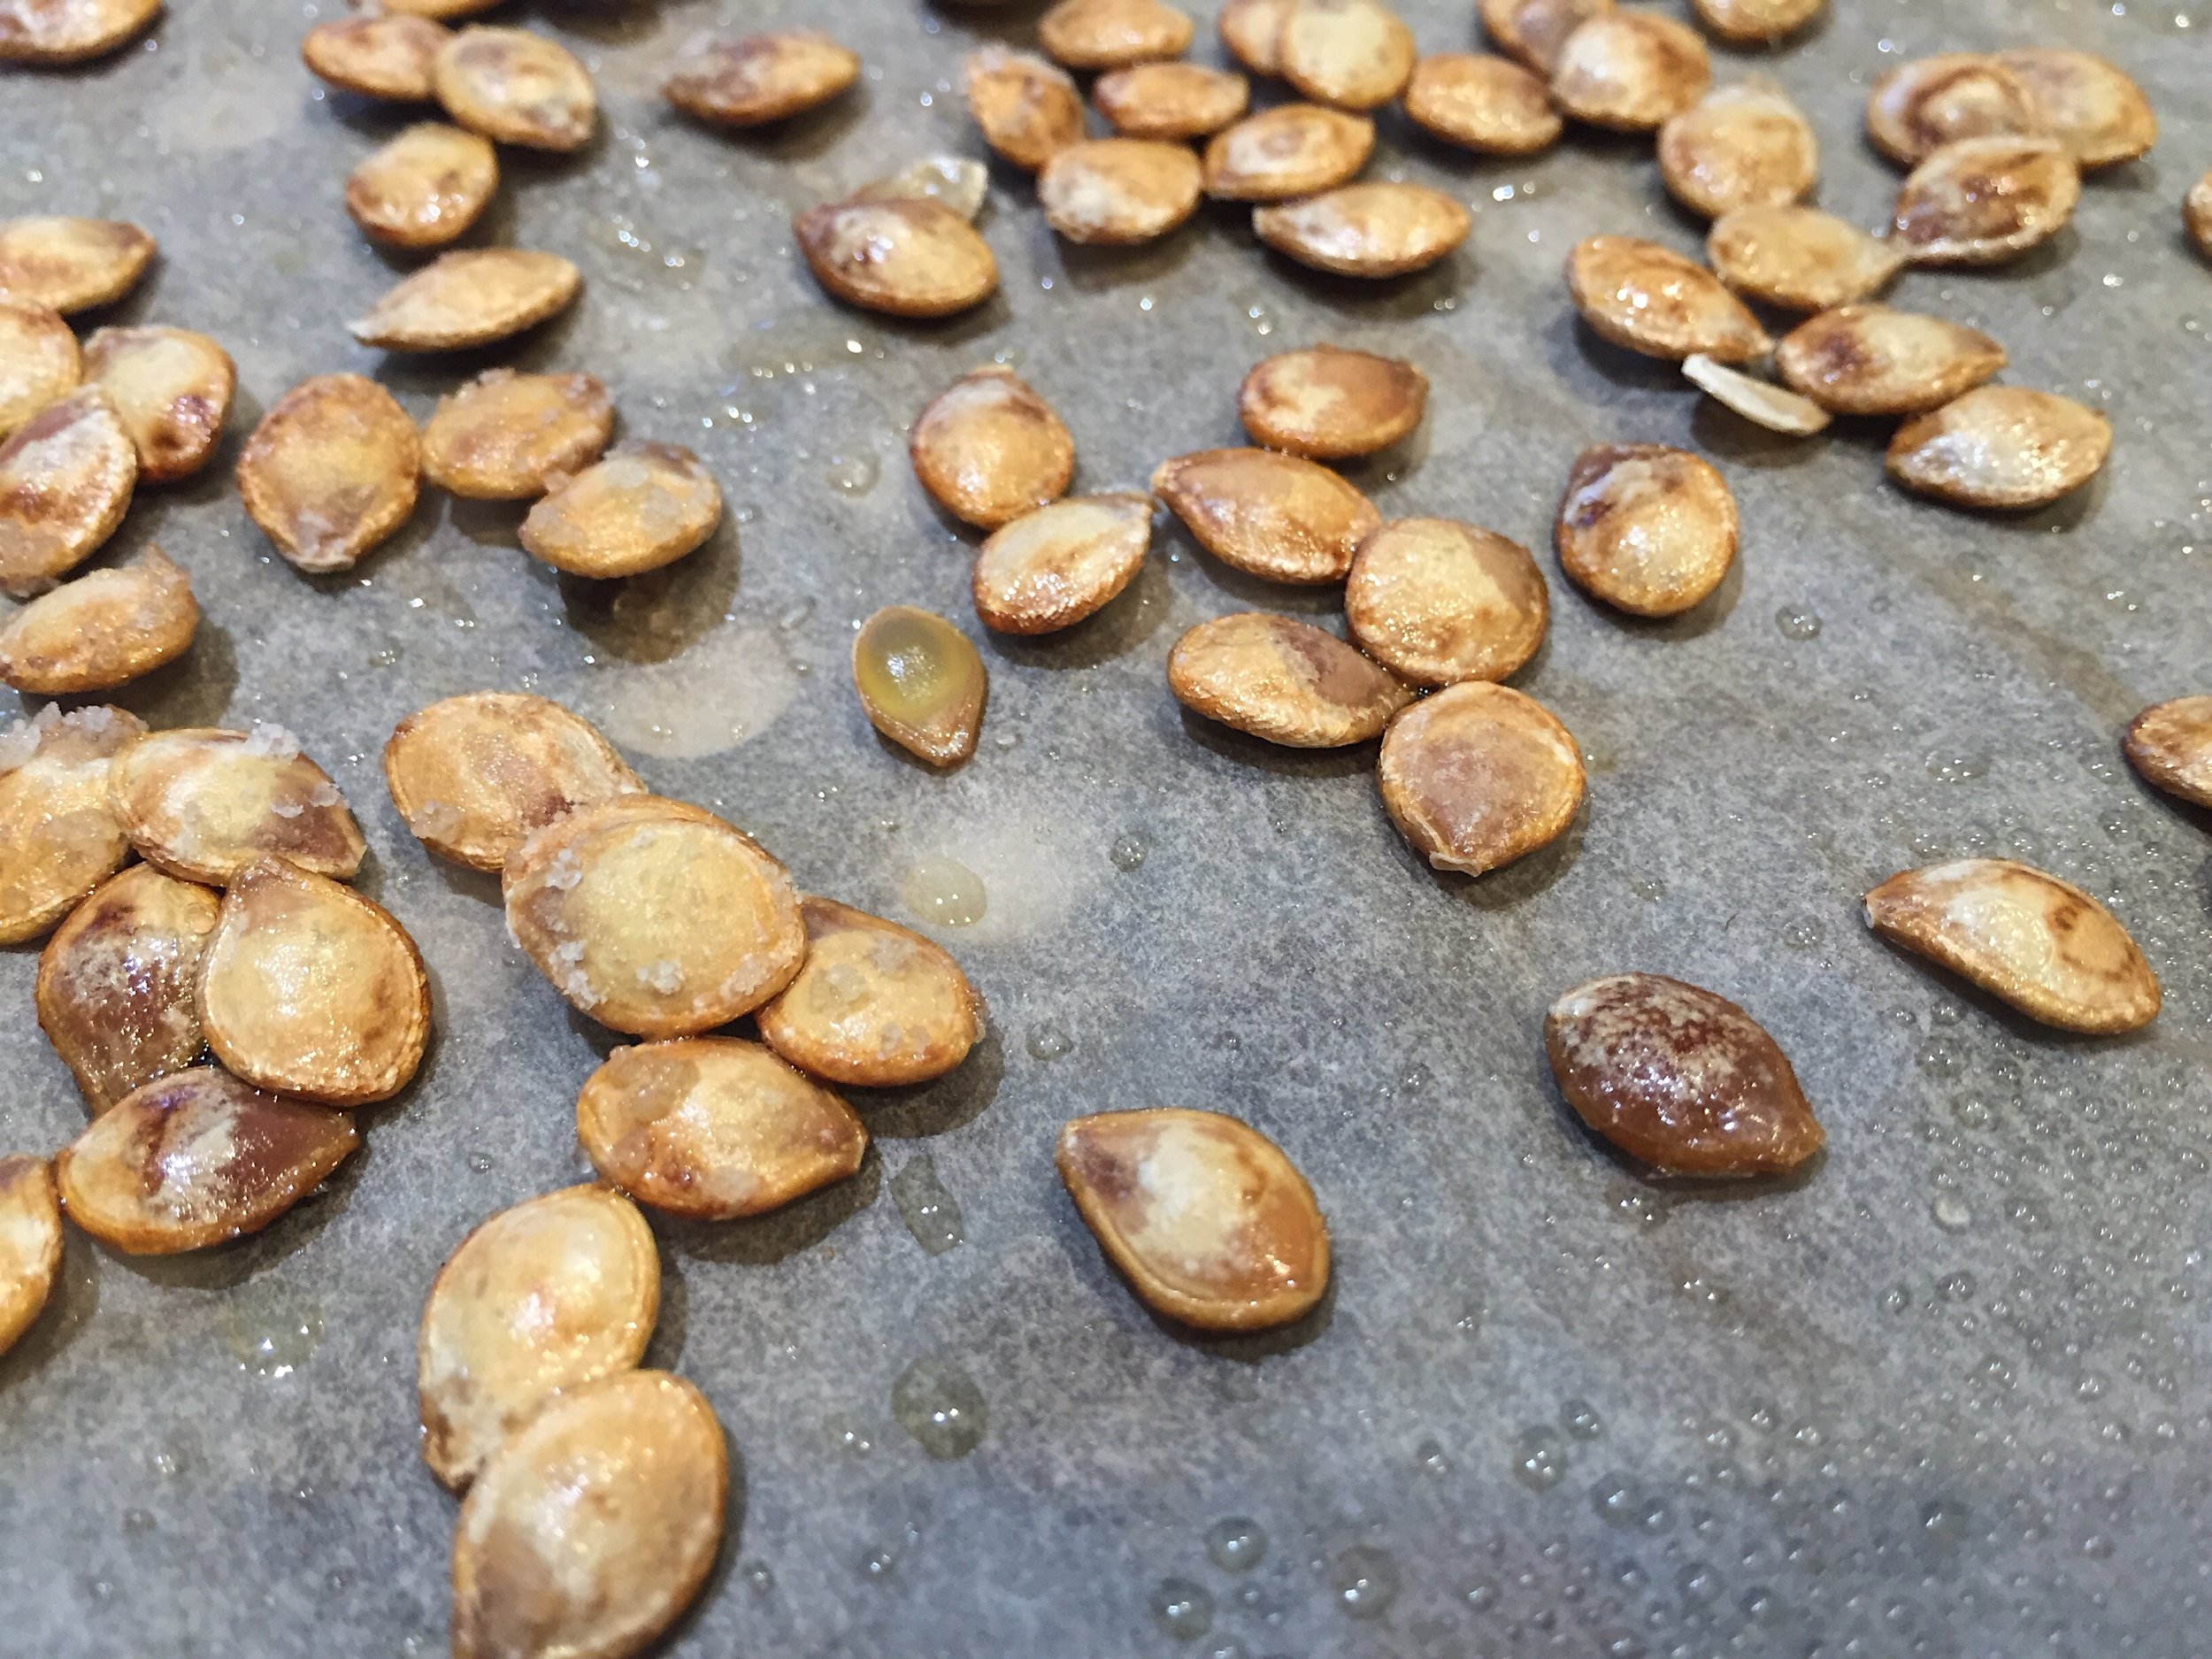
But the reason I am doing this post is because I wanted to share my #zerowaste tip for the squash. I think roasted pumpkin seeds are not a surprise. I never did at home and today I took my chances. I did my homework and found this recipe. A-MA-ZING!

Here are some pictures of the recipe process. Guys, you should TOTALLY do this at home!

Delicata squash roasted seeds: yummyness!

Delicata squash roasted seeds: yummyness!

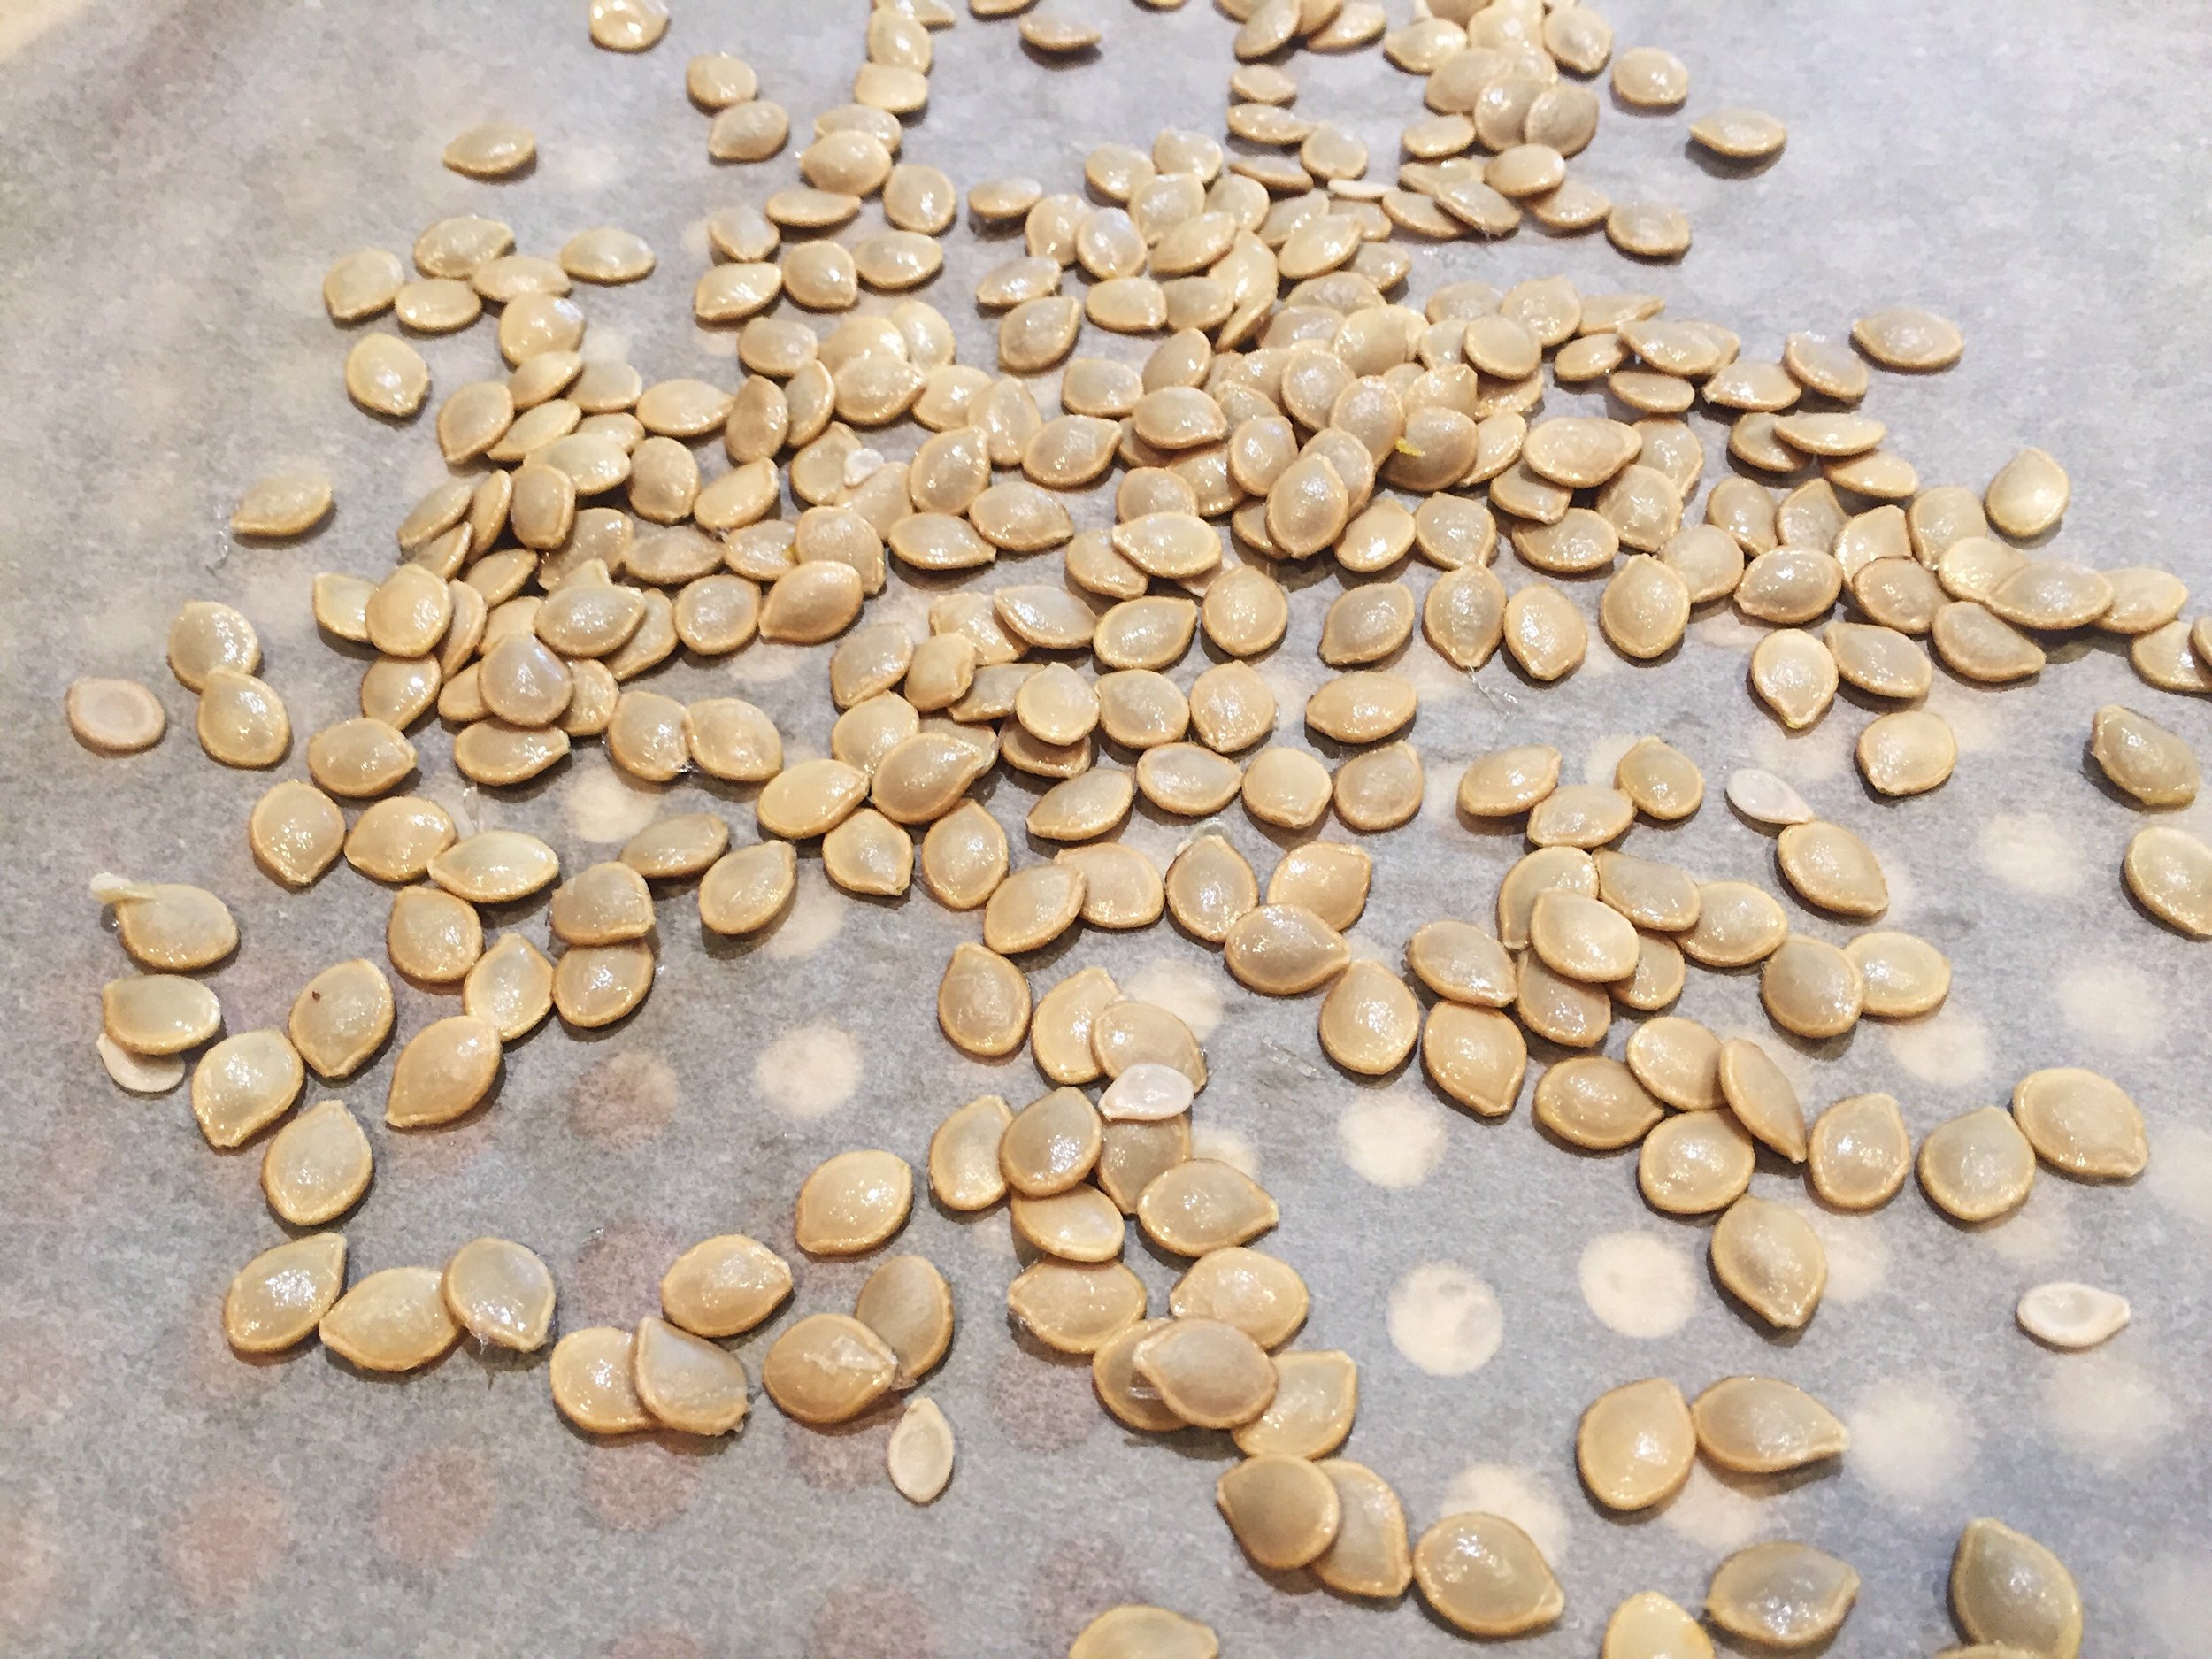
 1: Soak the seeds in water and rub them a bit to remove squash.

1: Soak the seeds in water and rub them a bit to remove squash.

 2: Separate clean seeds in another bowl.

2: Separate clean seeds in another bowl.

 3: Place seeds in a large pan with cold water. Bring it to simmer for a few minutes. Rinse and repeat if necessary (until all the squash if off the seed).

3: Place seeds in a large pan with cold water. Bring it to simmer for a few minutes. Rinse and repeat if necessary (until all the squash if off the seed).

 4: Place seeds in a tray with parchmeant paper and spray a little olive oil and salt.

4: Place seeds in a tray with parchmeant paper and spray a little olive oil and salt.

 5: Roast in the oven at 325F (160˚ celsius) for about 10 minutes or until golden.

5: Roast in the oven at 325F (160˚ celsius) for about 10 minutes or until golden.

 6: Enjoy the seeds! 

6: Enjoy the seeds! 

tags: zero waste food, roasted, healthy, food, roasted squash seeds
categories: Zero Waste
Monday 10.09.17
Posted by Camila Rinaldi
 

Fish Kibbeh

Believe it or not but kibbeh is something very common in Brazil. I think it's because back in the day people from Lebanon went to my country and we loved their food. Actually we have a lot of Middle Eastern food restaurant across my country, one of the most famous fast food chains is inspired by its kind of food. So you figure.

This week my husband and I decided to do a cleaning on our fridge. I am always writing and posting about it here because I think it's a necessary thing to do before going to the supermarket and fill your cabinets and refrigerator. This way you ended up wasting a lot less and consuming what you bought before. Also I think this is great for my creativity - it's a simple exercise: I have to work with whatever is left and deliver an awesome meal for my family.

Yesterday I saw some fish and seafood and decided to do a hot stew with coconut milk and black. Check it out here. I had half tilapia fillet left for my lunch today and since I saw Rita Lobo's fish kibbeh on her Instagram, I decided to do my version of it.

I had some quinoa on the fridge, so instead of bulgur I went for it. I know it's not the same thing at all, but you know necessity is the mother of creativity and this was my case. I had onions, garlic, mint, parsley and lemon juice. I just mixed everything together and wait for the result.

First I chopped a bit of white onion and garlic. Do you have a bowl at home that you use to whisk things and now is looking very old? Note to myself: do not buy white bowls anymore (they are not even pretty!).

First I chopped a bit of white onion and garlic. Do you have a bowl at home that you use to whisk things and now is looking very old? Note to myself: do not buy white bowls anymore (they are not even pretty!).

Next I just had to cut the fish to put it on the mini food processor. If you think that I am going to use my big one you are mistaken. I think my mini device could process a whole fillet if it was the case.

Fish, parsley, mint, one garlic clove, salt, olive oil and pepper. 

Fish, parsley, mint, one garlic clove, salt, olive oil and pepper. 

Then I mixed the "fish paste" with the chopped onion and garlic, add the quinoa (already cooked) and transferred everything to a glass container (with olive oil on it). The oven must be preheated at 350F (180˚C). Splash a bit of olive oil on top and cover with foil. Let it cook for about 15 minutes. Then I turned the broil mode for about 4 minutes.

I had some white rice left and some arugula, shredded carrots and tahini sauce as well. For the rice I add some fried garlic and for the salad I mixed everything and topped with walnuts. Done. 

Salad, fish kibbeh and garlic white rice.

Salad, fish kibbeh and garlic white rice.

In the meantime I was also doing some meal prep for dinner - I roasted half an eggplant with onion and garlic on the oven - since it was already on. Today we will have baba ganoush as side for dinner. As I said: no food will be wasted in this house!


tags: what I ate today, zero waste food, fish, kibbeh
categories: Zero Waste, What I Ate Today
Tuesday 08.29.17
Posted by Camila Rinaldi
 

Spinach Rice

Spinach rice with garlic confit on top

Spinach rice with garlic confit on top

My goal with this blog is not only give recipes - the internet is already a full library of them. You can Google anything you want and there is a recipe for it. My goal is to inspire people to eat more at home, to know what they are putting inside their bodies, and also to avoid waste in a smart way.

So yesterday I went to the supermarket (Trader Joe's, I love you!). I bought a lot of things because I was out of so many things - specially some super necessary staples and vegetables that are a wild card for me. 

I already knew what I was going to do for dinner. Something that tastes like my childhood: sausage and potatoes, cooked on the pressure cooker. I even called my mother to learn how to do it in the way that I liked it. But I need something else, a side. Rice? Yeah, but I already had the potato. I needed more vegetables here as well. So I opted for brown rice. I prefer the white, but sometimes I go for this option, specially when I am having potatoes. But just the brown rice wasn't enough. So I remembered this TV show that I saw once that they did a rice with broccoli. It was a green rice, the host called it "Hulk Rice". I felt in love for this idea. So I decided to do it with spinach. But not stir-frying the spinach, I did a juice, using my homemade stock.

Stock, spinach, salt and garlic

Stock, spinach, salt and garlic

All I need was my stock made out of the leftover bone, a cup of baby spinach, a pinch of salt and one garlic clove. 

Spinach juice

Spinach juice

Then I decided to pass it on the strainer, I didn't want the fibers and garlic pieces, just the juice. Again: best decision I've made. I think this process made my rice light on the spinach garlic taste and very colorful. 

All I can see in this image is the mess behind the juice being poured on the strainer. Sorry (not sorry)!

All I can see in this image is the mess behind the juice being poured on the strainer. Sorry (not sorry)!

I did about 1 cup of rice. So of course I needed more water to cook it. Since I did not let my rice rest on water (this is the wisest thing to do - let it sit on water for about 8 hours so it will cook in about 15 minutes, with less water. Also it neutralizes phytates - which helps other nutrients to be better absorbed (check the link!).

In the last minute I decided to add some quinoa because why not, right? I actually wanted to do more food because I was thinking of the future me and future me wanted to eat this on lunch.

Quinoa and rice on the spinach juice

Quinoa and rice on the spinach juice

I added a little more salt, cumin, garlic powder and the olive oil of the garlic confit and let it cook. In the process I was thinking about doing this with carrots, for an orange rice, and beets, for a pink rice. There are a lot of possibilities, right? Not just for the colors, but flavors as well: basil, chives, olive, pepper...

I was very happy with the result, both color and flavor were amazing. To be honest my husband didn't realize that he had this for dinner - here we eat in the dim light. And he liked it. So it's an extra point for this idea/recipe.

Spinach rice ready to be eaten

Spinach rice ready to be eaten

I would like to add that yes, I had this for lunch as well. With the leftover fish and a leftover salad!

Spinach rice, Milanese tilapia (made with my homemade breadcrumbs) and cabbage salad with orange vinaigrette

Spinach rice, Milanese tilapia (made with my homemade breadcrumbs) and cabbage salad with orange vinaigrette

Just to be clear: I don't have a spinach obsession. Yes, I usually have it on the fridge, I like to hide this veggie on my sauces, meats, juices and smoothies. It's healthy, right?

tags: recipe, leftovers, eat your veggies, spinach
categories: What I Ate Today, Zero Waste
Tuesday 05.16.17
Posted by Camila Rinaldi
 

Do your own stock - with scraps

A lot of people who cooks already knows that stock adds a layer of flavor to the dish. There are a few kinds of stock and each of them is used for specific combinations: vegetables, mushroom, meat, chicken, turkey, fish...

From trash to treasure.

From trash to treasure.

Generally, stocks contain four essential parts: 

  • Flavoring ingredient: meats
  • Liquid: mostly water, but you can also use remouillage (a kind of stock made of bones that have already been used once to make a stock - it's clearer and weaker)
  • Aromatics: herbs, black pepper
  •  Mirepoix: the famous combination of carrots, celery and onion

But my focus here is to explore the stock made using food that otherwise would be wasted. I am talking about ends, tops, peels, stems, leaves, bones. Carrots, broccoli, onions, celery, mushrooms, cauliflowers, garlic, potatoes, spring onion, cilantro, parsley... These (and more) are all the ingredients that I used for my stock. Also I had some turkey bones frozen from last Thanksgiving. 

My stock was a little bit dark. If you want something clear, this is not appropriate. But generally, for what I cook, this stock is really good. I used a Ziplock bag a left it in the freezer, and as I was cooking I store all my peels, stems, tops and ending on this bag. One day, when it was full, I made the stock. Put everything together on a stock pan, water until everything is covered, some black peppercorns and let it cook for about 1 hour. Then I divided into containers to be frozen and others to be used right away. 

Turkey stock made with vegetables scraps.

Turkey stock made with vegetables scraps.

The real deal here is that you can keep this bag frozen for six months. So you have all this time to collect food that otherwise would go to the trash. Why not repurpose everything and make something that will actually save some money? Plus it's homemade, so you know all the ingredients and everything that is going to your dish. In other words: healthy food.

Resting in my freezer right now. Waiting to become a treasure for future recipes.

Resting in my freezer right now. Waiting to become a treasure for future recipes.

Right now I have some frozen on my freezer. This recipe gave me 4 containers - about 2 liters of stock. So I have a lot of it for sure! And I already have a bag on freezer with chicken bones and vegetables scraps being filled up for the next batch. 

Hello bag full of flavor!

Hello bag full of flavor!

Also, I would like to add that some of these days I bought a rib steak, with the bone. Then I used the bone to do a broth using only water. I wanted to do this way because I could use for my dog food and I was a bit lazy at the time to add carrots and celery - but this is something you could do. Since dogs can not have pepper and onion, I would skip this ingredients, but the rest is safe for them (but ask your veterinarian before giving anything to him/her, ok?).

Follow my blog with Bloglovin
tags: zero waste food, stock, vegetable stock, using scraps, leftovers
categories: Zero Waste
Tuesday 05.09.17
Posted by Camila Rinaldi
 

Brownie with Coffee

I had some coffee from the breakfast waiting to go down the sink this morning. But, I can't live with myself anymore knowing that I wasted food without even thinking about something to do with it.

Even tough it is Sunday I still had time to go to the kitchen and do something sweet for the weekend - this is a new tradition in this house: we have to have something sweet to bite during the weekends. A delicious new tradition to be honest.

I was out of chocolate bars or chips, but I had cacao powder. Butter, eggs, sugar, flour, salt, cinnamon and the coffee. The happiness recipe for sure.

INGREDIENTS

  • 3/4 cups + 2 tablespoons of unsweetened cacao powder
  • 1 1/4 unsalted butter sticks
  • 2 cold eggs
  • 1/2 cup flour
  • 1 1/4 cups sugar
  • A pinch of salt
  • A pinch of cinnamon
  • 1/2 cup (leftover) coffee
I used to thought that TV shows put everything separated in bowls because it was cool. Turns out that when you have to measure all the ingredients, it's easier to separate everything before start the recipe. Let's bake!

I used to thought that TV shows put everything separated in bowls because it was cool. Turns out that when you have to measure all the ingredients, it's easier to separate everything before start the recipe. Let's bake!

INSTRUCTIONS

Preheat the oven to 325°F (180°C). Line the bottom and sides of a baking pan with parchment paper - I used an 8-inch square baking pan.

In a heatproof bowl put the butter. Bring it to Bain Marie and let it melt. Then combine the cocoa and then the sugar and mix it with a whisk. Pour the coffee and whisk everything together. It should be warm enough that you can dip your finger on it - with no harm (please)!

 Melt the butter in Bain Marie.

Melt the butter in Bain Marie.

 Melt the butter in Bain Marie.

Melt the butter in Bain Marie.

 Add the cocoa powder and mix it.

Add the cocoa powder and mix it.

 Add the cocoa powder and mix it.

Add the cocoa powder and mix it.

 Add the sugar and whisk everything together.

Add the sugar and whisk everything together.

 Pour the coffee...

Pour the coffee...

 Whisk until thick.

Whisk until thick.

 Melt the butter in Bain Marie.  Melt the butter in Bain Marie.  Add the cocoa powder and mix it.  Add the cocoa powder and mix it.  Add the sugar and whisk everything together.  Pour the coffee...  Whisk until thick.

Let it sit on the counter for a few minutes to cool down a little bit. Add the cinnamon and the salt. The cinnamon will enhance the chocolate and the salt will enhance all the mixture. It's just a pinch, anyway.

A pinch of salt and cinnamon to enhance the flavors.

A pinch of salt and cinnamon to enhance the flavors.

Now it's time for the eggs! After the batter has cooled down a bit, you can add one at a time. Pour one egg at time and stir vigorously after each one. The batter will look thick and very shiny. Now we can add the flour. Using a strainer to make the flour lighter and easier to stir. Also it prevents lumps on the batter.

 Add one egg each time. Whisk.

Add one egg each time. Whisk.

 Use a strainer to prevent lumps on the batter and make the flour lighter.

Use a strainer to prevent lumps on the batter and make the flour lighter.

 Bye, lumps!

Bye, lumps!

 Mix everything!

Mix everything!

 Add one egg each time. Whisk.  Use a strainer to prevent lumps on the batter and make the flour lighter.  Bye, lumps!  Mix everything!


In the end I decided to add some cacao nibs, just to add a bit of crunchiness. 


Cacao nibs covered in dark chocolate.

Cacao nibs covered in dark chocolate.

I also spread some cacao nibs on the top:

And then... straight to the oven!

And then... straight to the oven!

Put it on the oven for 25 minutes. Insert a toothpick into the center of the brownie, if it emerges slightly moist with batter, it's ready!

Let it cool. And then serve!

I really don't know how to cut perfect squares...

I really don't know how to cut perfect squares...

Follow my blog with Bloglovin
tags: dessert, brownie, coffee, sweet treat, sweet tooth, sugar craving
categories: Zero Waste, Dessert
Sunday 05.07.17
Posted by Camila Rinaldi
 

Breadcrumbs from leftovers

This last weekend I have attend Zero Waste Food, a conference about how we produce a lot of food and don't consume it, so we need to reimagine and repurpose all these thing that is been wasted.  

I am not a fan of waste in general. In fact I started this blog because this is one of my missions: to inspire people to cook more with minimum waste. You can not imagine the amount of food that goes to trash at homes around the world. We buy, we don't plan and the it goes to landfills. We think that once it goes to the trash, is not our problem anymore. Guess what, it is. Not only because when you throw food away you are expending your money (it's like you're literally throwing your money on the trash can), but it's not sustainable. 

So, yesterday I decided to clean my fridge. Of course I had to throw somethings out, unfortunately. I am not perfect and I wish I was so had everything planned for that food that went to the garbage. But I was also proud of myself. Because I did not threw a lot of things as I used to do. Some of it was already "recycled food" - when I write this I mean: food that was already transformed into another meal and consumed. It was the leftovers and they were really bad, not ok for consume. But on my freezer I found a some bread. I was planning to do croutons for soup, but guess who: spring is here and soup is not on my plans any time soon. But I could do breadcrumbs. The ready to use that I have on my pantry is almost gone and I planned to put this item on my groceries shopping list for next week. Well, now I don't need this item anymore.

Everything start with frozen breads - put them in the oven for about 20 minutes at 350F (180º C)

Everything start with frozen breads - put them in the oven for about 20 minutes at 350F (180º C)

So today as I used the oven for our breakfast I took this opportunity to start my breadcrumbs. Just throw it on a pan, with parchment paper and let is defrost and also toast a bit. The bread must be really dry, and I wanted it to be a little bit toasted as well. I let it sit for about 20 minutes. Then waited for it to cool down outside the oven and threw it on the food processor with a bit of salt and spring onion. I didn't want to put a lot of flavor here because in the future and I want season it according to my recipe - I can do gremolata, pesto, chicken Milanese (or fish or steak), some gratin... A lot of options, and I can season it as I wish.

Put it on the food processor and let this appliance do its work!

Put it on the food processor and let this appliance do its work!

The magic (and satisfaction) of homemade breadcrumbs.

The magic (and satisfaction) of homemade breadcrumbs.

I am so satisfied with the result!

IMG_0002.jpg IMG_0001.jpg IMG_0003.jpg
tags: zero waste food, homemade breadcrumbs, what I ate today, cook at home, leftovers
categories: Zero Waste
Tuesday 05.02.17
Posted by Camila Rinaldi
Comments: 1
 

Powered by Squarespace.